 Hello and welcome to another Adobe Photoshop tutorial, today we are going to create a HD Television. I don’t think this tutorial and creation will be too difficult for you because I’ve put everything in easy to follow steps and tried to explain the best I could.If you have basic knowledge about Photoshop you should be able to easily keep up and let me guide you through this tutorial! Let’s get our hands dirty!
Step 1 – Background
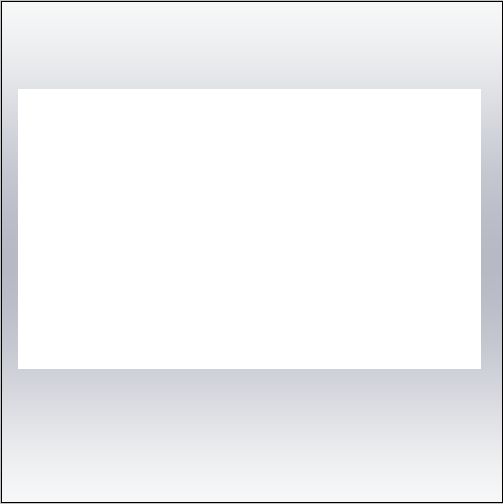
Let’s start by creating the background.
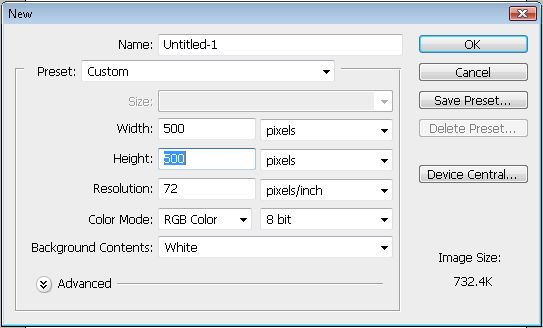
Create a new document ( CTRL+N) and make it 500 by 500 px.
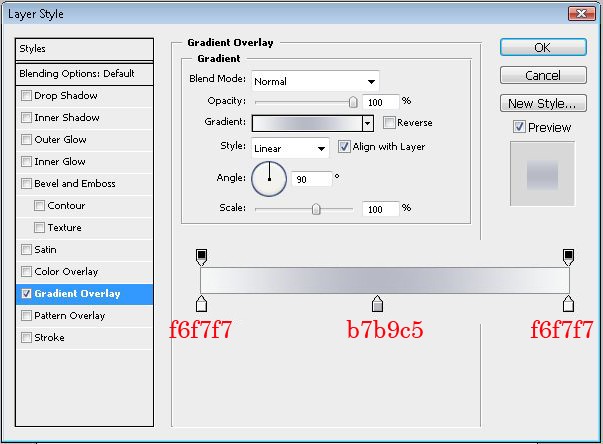
Create a new layer(CTRL+SHIFT+N), fill it with random color and then add a Gradient Overlay like in the screenshot below:
Gradient overlay:
- f6f7f7
- b7b9c5
- f6f7f7

Step 2 – Body
Create a new layer.
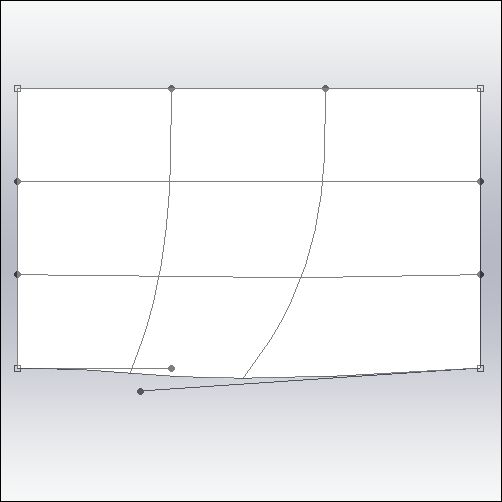
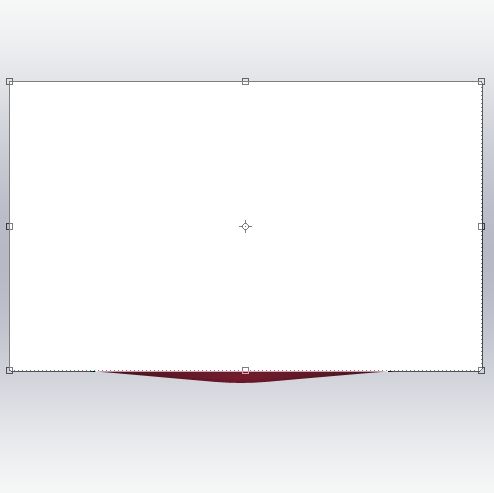
Select the rectangle tool and make a shape with it to be something similar like screenshot below (the color doesn’t matter now).
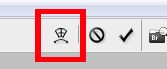
Press ”Ctrl + T” or go to Edit>>Free Transform Path to select the transform mode.
A button will appear to switch the transform mode to wrap mode.
Click on it:
Now your selection should have been changed a little bit:

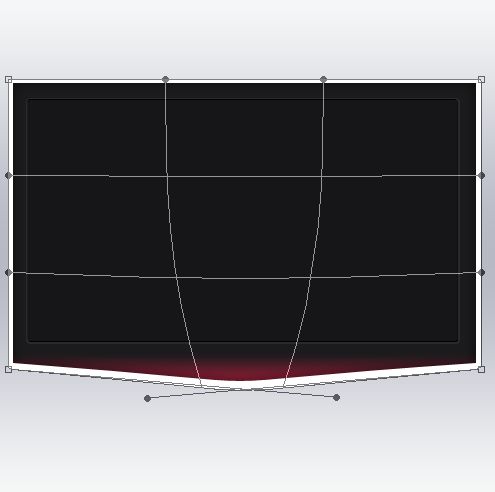
Click hold and drag point 1 to the 2, try to follow screenshots very closely now:

Do the same with the other point:
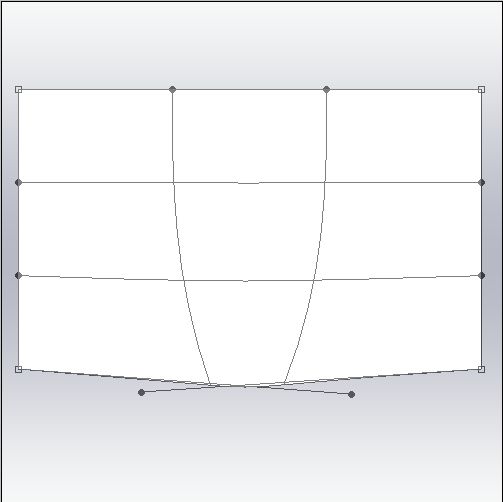
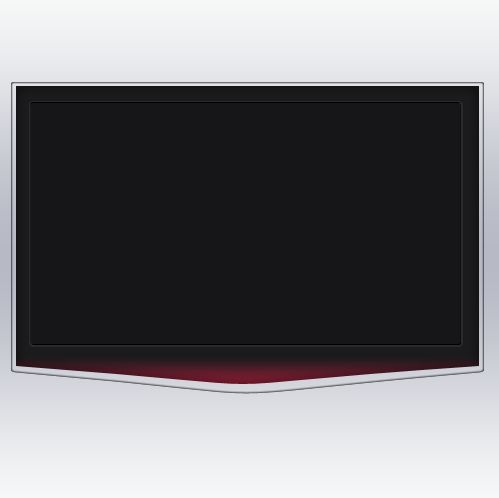
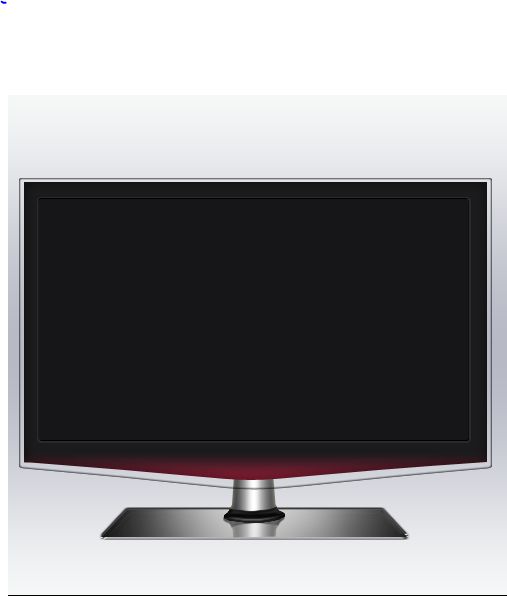
Once you have done, Hit the Enter button and you should have got something similar to Television screen shape:
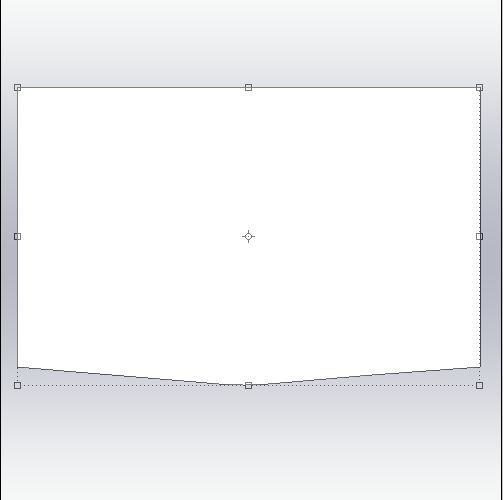
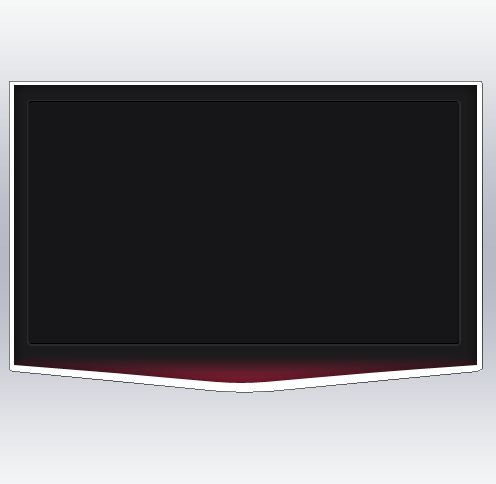
Great! Now let’s add these Blending Options:
- Inner Glow
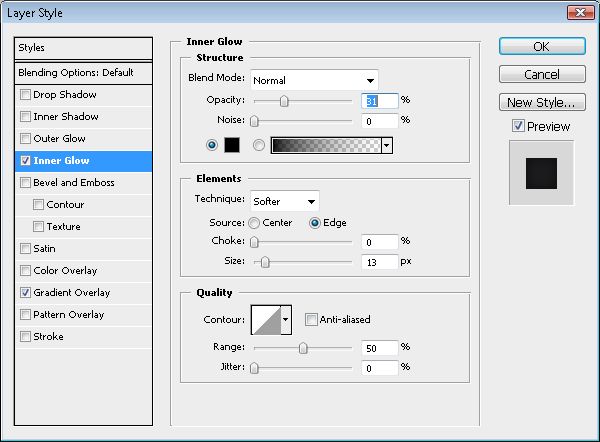
- Gradient Overlay:
- 1b1b1d
- 9lle36

Done? You should get something like this now:

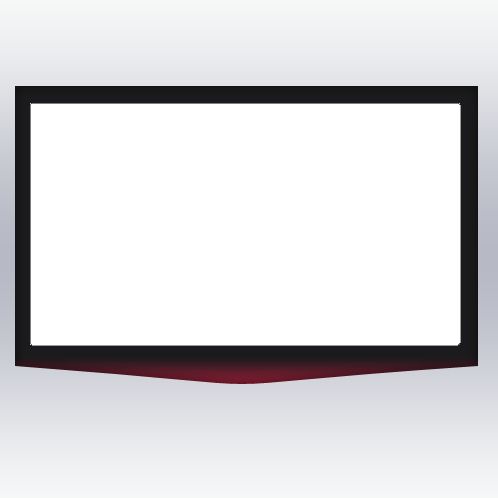
Step 3 – The Display
Create a new layer.
Select your Rectangle Tool (U) again, set it to 2px and create another rectangle like below:
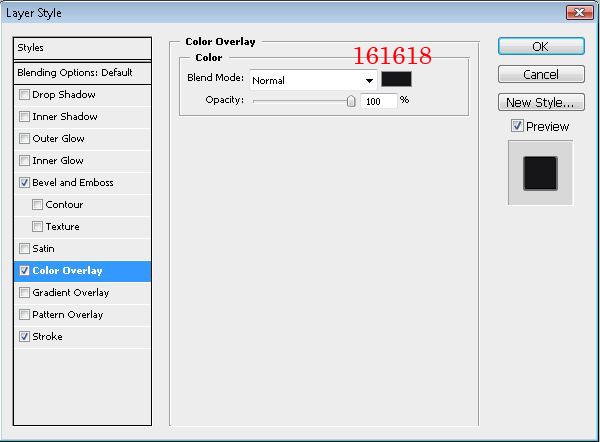
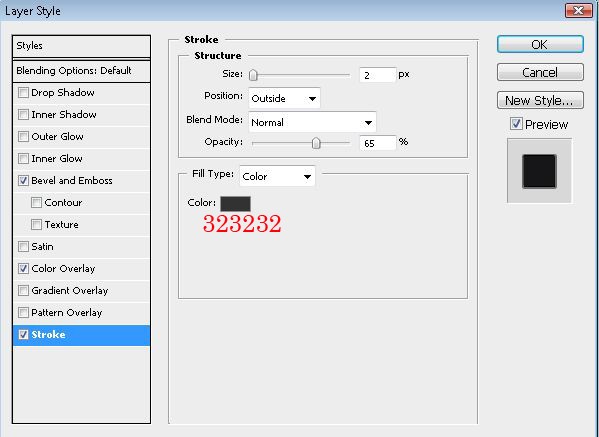
..and add following Blending Options now:
- Bevel And Emboss
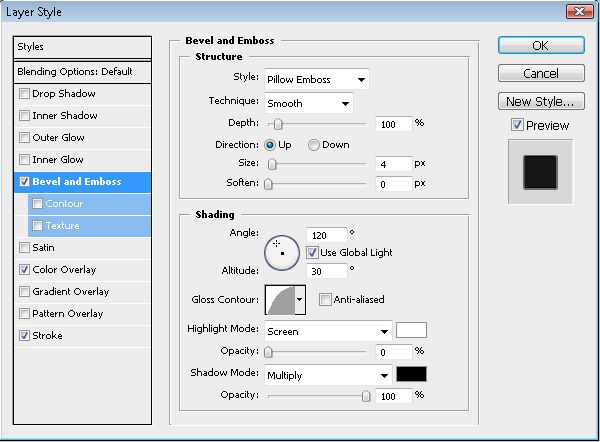
- Color Overlay (#161618)
- Stroke (#323232)
Step 4- The Glass
Create a new layer.
Create a new rectangle but just a little bit bigger than the first one. Make sure it is set to 2px.
..and set it below the first and the second layer. So it should appear like this to get some more 3D in depth look:

Do the same settings as we’ve been done in previous Step 2 :
After modifying hit Enter or click OK to approve it:
Now add Blending Options (for the first picture you only need to set the Fill Opacity to 0%):
- General blending – Fill Opacity :0%
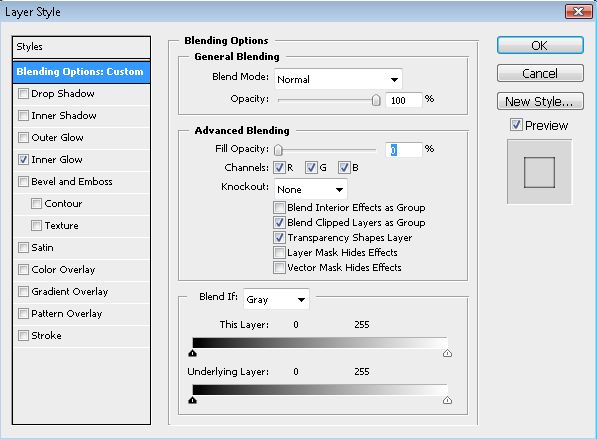
- Inner Glow

Your outcome should look like this now:
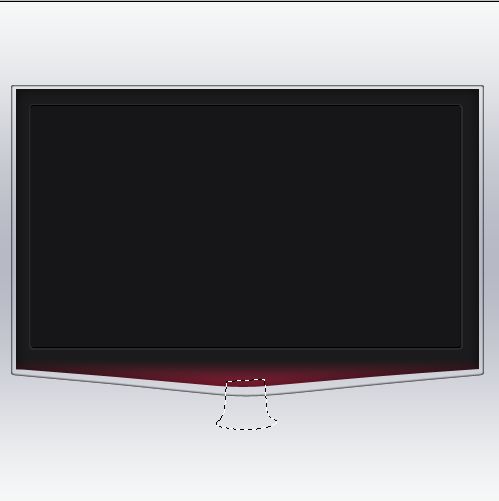
Step 5 – Stem
Okay, now we need stem where monitor will sit on. Let’s do it!
Create a new layer and create something like the selection below using your tool preferred. I used the Polygonal Lasso Tool (L) here:
Fill it and add following Blending Options:
- Gradient Overlay:
- 454545
- ffffff
- 454545

Let’s create a new layer again and make a selection like screenshot below:
(you can do it by ctrl+click on previous layer and then with lasso tool select selection from previous layer selection)
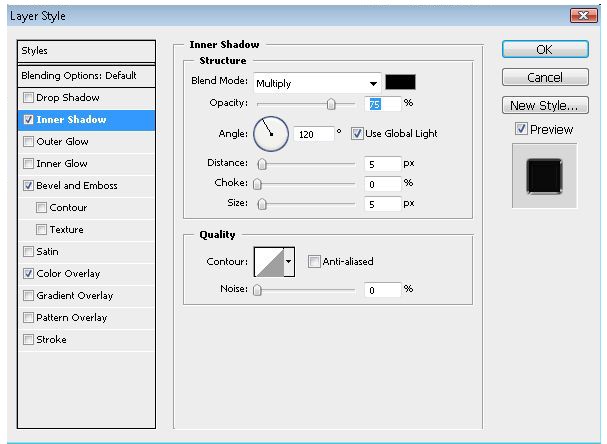
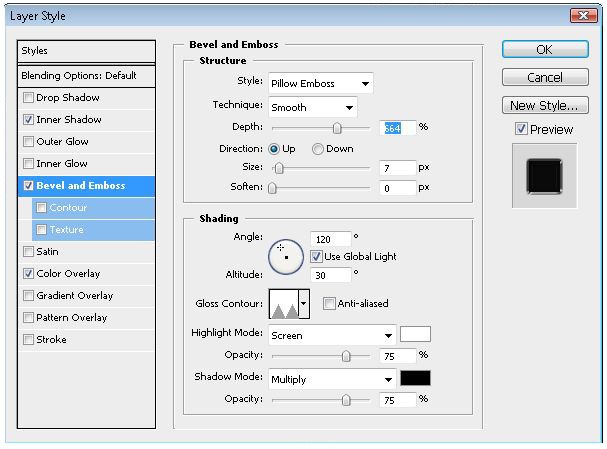
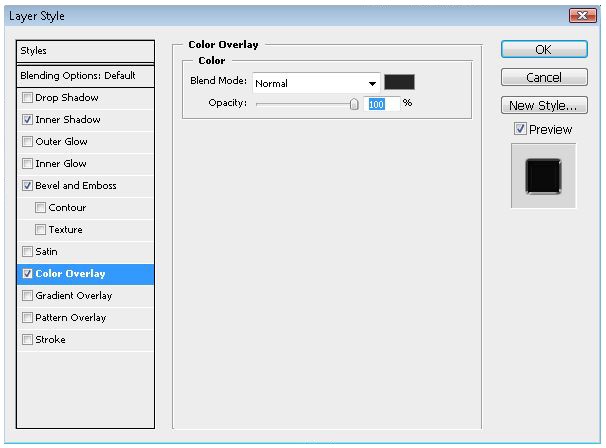
And add these Blending options now:
- Inner Shadow
>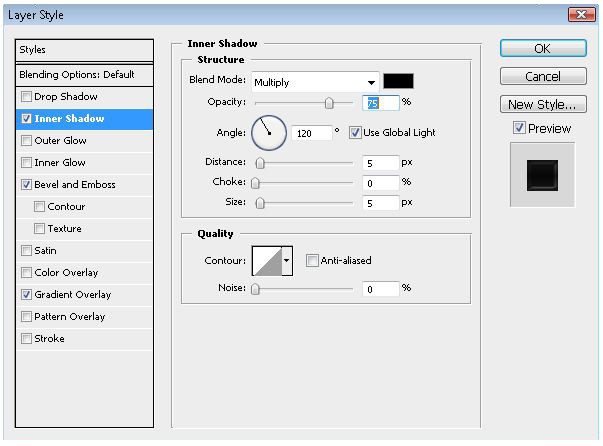
- Bevel And Emboss
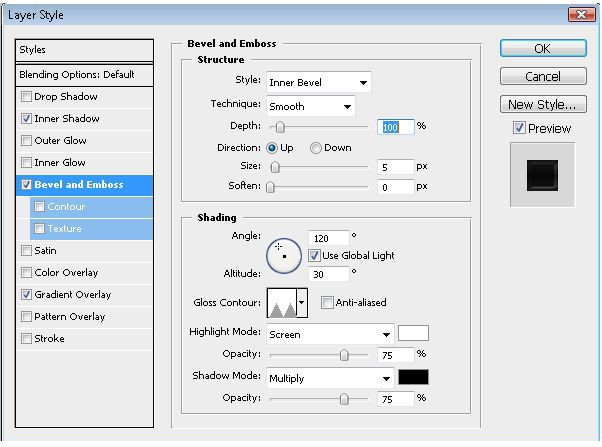
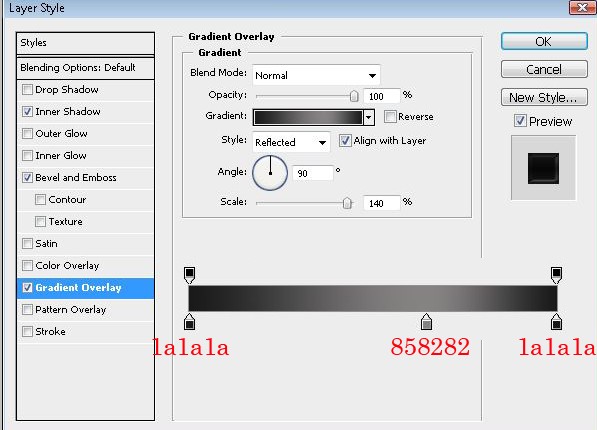
- Gradient Overlay:
- lalala
- 858282
- lalala
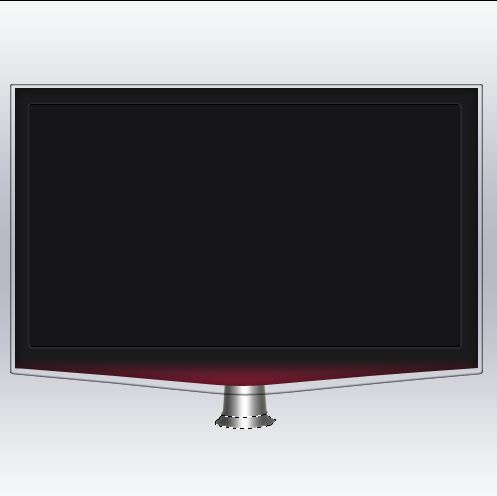
Your result should look like mine:

Merge 2 stem layers together now.
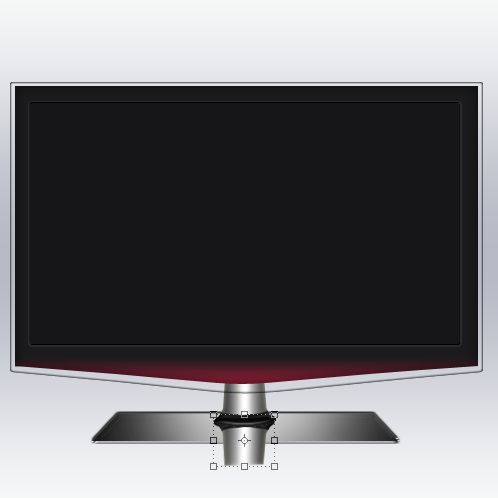
Step 6 – The Stand
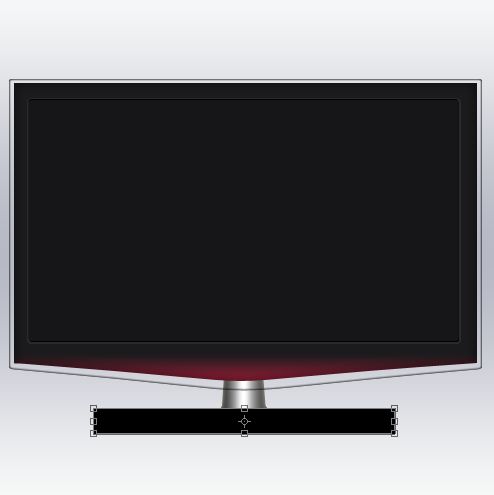
Okay, let’s create stand now!
Create a new layer and draw a rectangle like screenshot below:
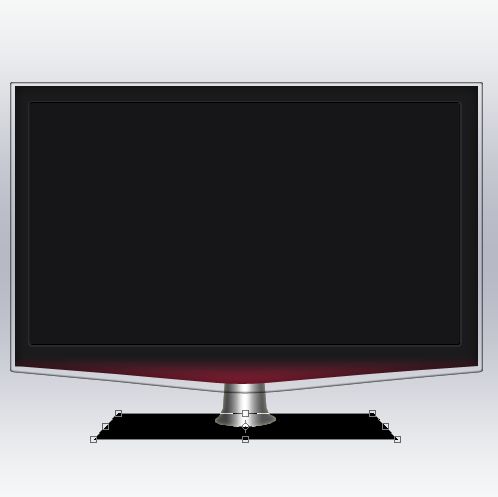
Go to Edit, Transform Path>>Perspective.
Now select the square above the left corner and drag it a little bit to right to create something like screenshot below. When you are finished set it to lie below the stem layer.
When you are done add following Blending Options:
- Inner Shadow
- Bevel and Emboss
- Color Overlay (just something not so black..make it dark grey)
Step 7 – Reflection
Duplicate the Stem layer, then go to Edit>Transform>Flip vertical and set it below the original stem.
Now create a new layer and brush with a white color on the stand.
Now erase the parts you don’t need anymore (like the picture below) and bring the Opacity down until it looks realistic:
Step 8 – Glow
Create a new layer and create a selection like this with your Polygonal Lasso Tool (L):
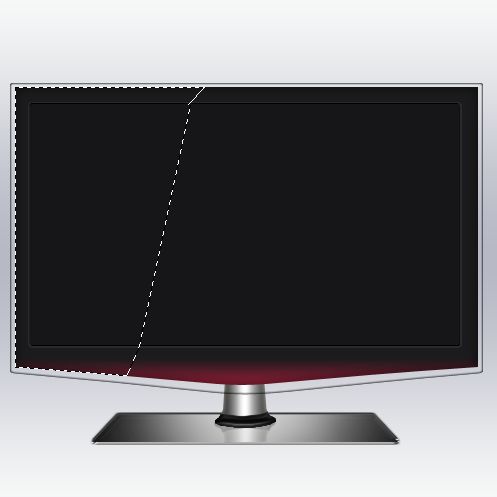
Fill it with white color (or use subtle gradient if you prefer it that way):
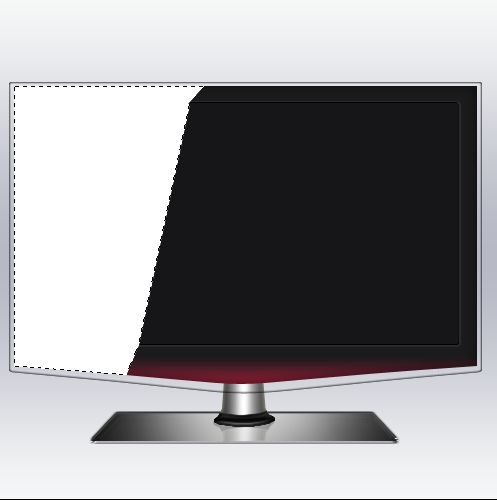
Now just bring the opacity down a little bit as you like to get realistic effect.
Create a new layer and brush with a black color on the left side like I did to give it more 3D look.
I will not go in detail in those small steps,but small tips to finish:
- Create buttons - to do it create a new layer and add some light gray circle with your brush tool like i did and just enable the inner shadow in the Blending Options.
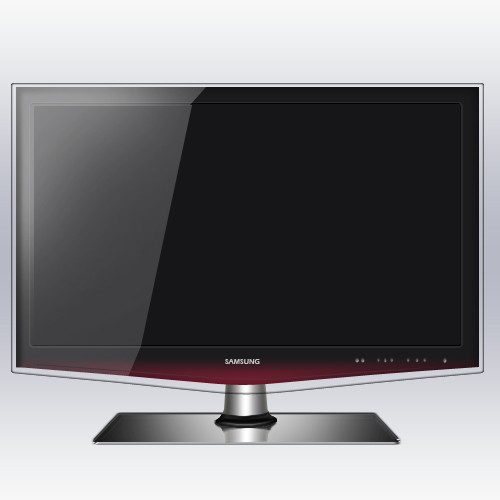
- Add Text – add some text there to make your own LCD brand,just don’t forget to add your text the buttons and the gray line below your text.
You should have your own LCD TV now! Great!
Is it not easy? Add now some cool looking image, portfolio work and put it on your webdesign, be creative!
No comments:
Post a Comment