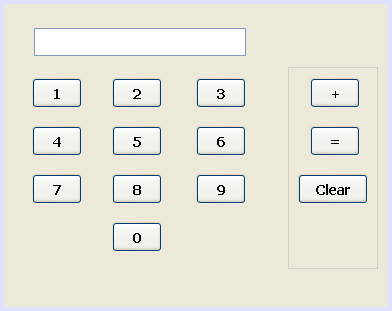
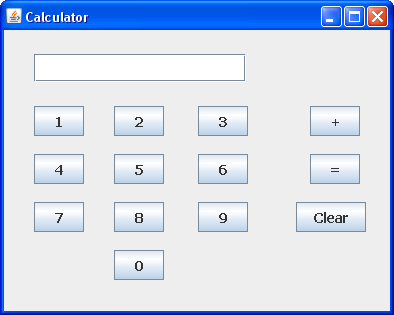
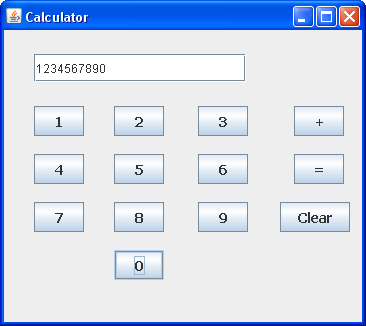
You don't have to output everything to a terminal window in Java. In this section, you'll be writing a calculator programme that makes use of forms. The form will have buttons and a text box. We'll start off with a very simple calculator that can only add up, and then extend its capabilities so that it can subtract, divide and multiply. The calculator will look something like this:

(The above screenshot was taken on a Windows XP machine. Your calculator will look different if you have, say, a Linux operating system, or an Apple Mac.)
Let's make a start.
NetBeans and Java Forms
Developing a Graphic User Interface (GUI) using Java can be an art-form in itself, as there's quite a lot to get used to: Components, Containers, Layout Managers, and a whole lot more besides. The NetBeans development environment, however, has greatly simplified the creation of forms, and we'll use this to drag and drop controls onto a frame.
Rather than go through reams of GUI theory, we'll just jump straight into it.
Create a new project for this by clicking File > New Project from the NetBeans menu at the top. Select Java > Java Application from the list boxes, and then click the Next button.
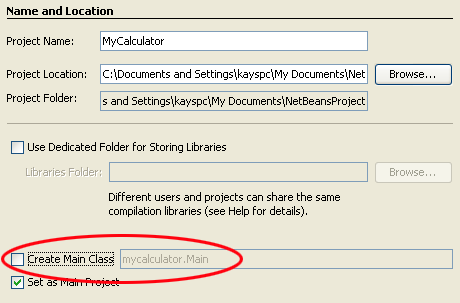
On step 2 of the wizard, type MyCalculator as the project name. At the bottom, uncheck "Create main class". This is because a main method will be created for us by NetBeans when we add a form. Step 2 of the wizard should look like this:
Click the Finish button, and NetBeans will create the project, but not much else. Have a look at the Projects area on the left in NetBeans and you should see this (If you can't see the Projects area, clickWindow > Projects from the NetBeans menu at the top):
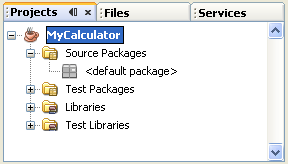
Normally, there's a .java file under the Source Packages name. But because we unchecked the "Create main class" box, there's no java class file there.
What we'll do is to add a Form to the project. When the form is created, it will be created in its own java class file.
To add a form, right click the project name in the Projects window. A menu will appear:
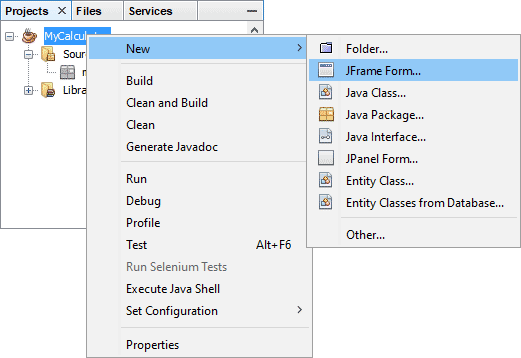
Select New > JFrame Form from the menu. When you do, you should see the following wizard appear:
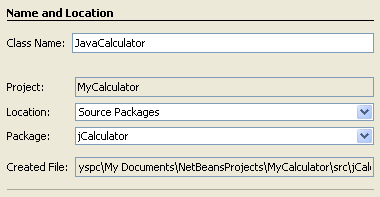
Here, you are being asked for a name for your Class, and a package name. We've already created the project, and called it MyCalculator. The package name and class will go into the project. So, for your Class Name type JavaCalculator. In the blank package text box, type jCalculator. So we're creating a class called JavaCalculator, which is in the jCalculator package, which is in the MyCalculator project.
Click the Finish button to complete the process.
In the next part, you'll see what happens after you click finish, and explore the various windows of the NetBeans IDE.
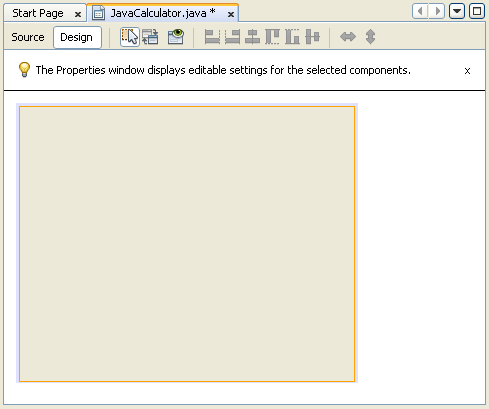
Note the two buttons at the top, Source and Design. You're in Design at the moment. Click on Source to see the following code:
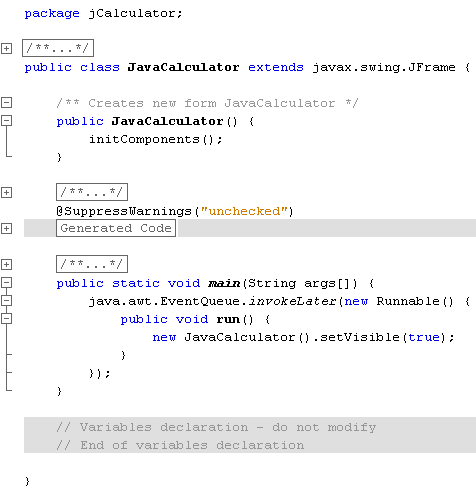
But NetBeans generates all this code for you. Otherwise, you'd have to do it all yourself!
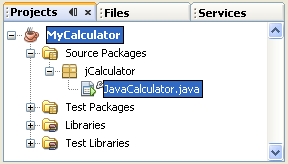
Have a look at the Projects area on the left again. You'll see that a package and a class file have been added:
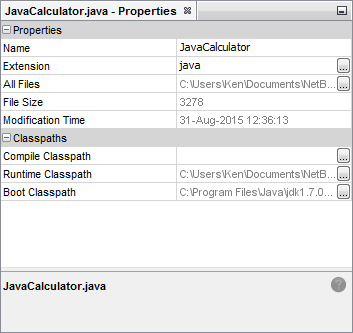
A property of an object is a list of the things you can do with it, like set the background colour, set the text, set the font, and lots more. Let's change the title.
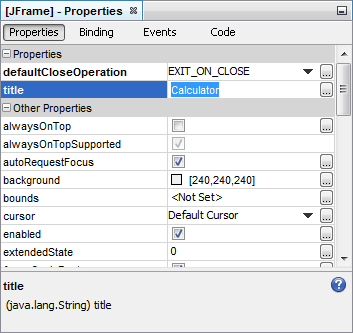
Make sure your form is selected. If it is, it will be surrounded with an orange rectangle. The properties area will say JFrame at the top.
Click inside of the title area and type Calculator:
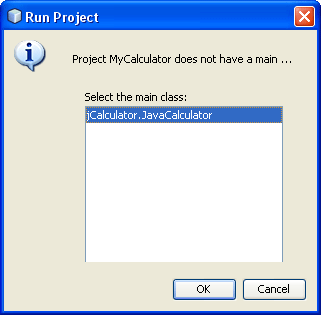
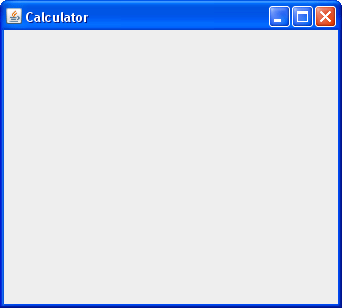
To see what effect changing the title property has, run your programme in the usual way. When you run the programme for the first time, NetBeans will display a dialogue box asking you which main method you want to use:
In the next part, we'll add a text box to the form.
What our form needs now is a text box and some buttons. Let's add the text box first.
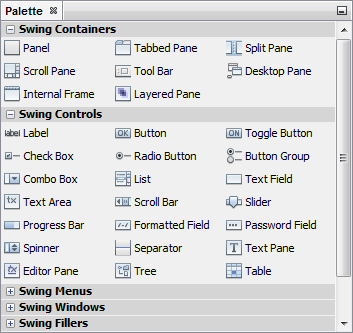
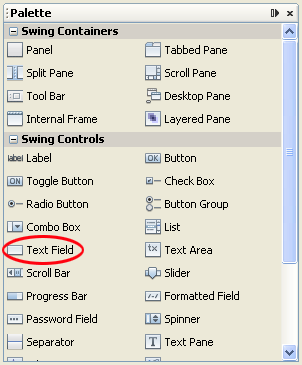
Locate the Text Field control in the Palette:
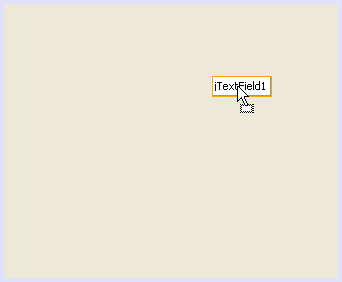
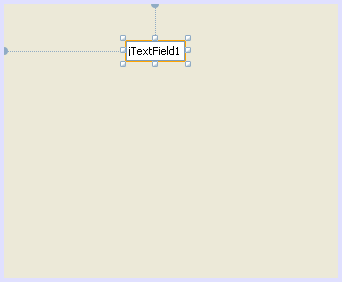
With the text field selected, have a look at the Inspector area in the bottom left: (If you can't see an Inspector area, click Window > Navigating > Inspector from the NetBeans menu bar.)
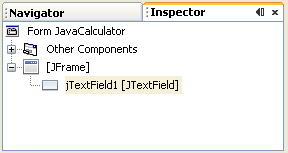
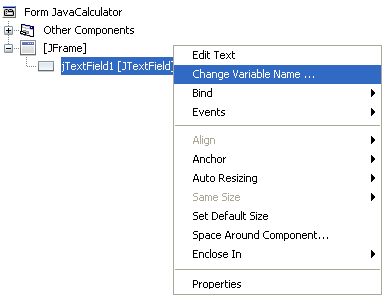
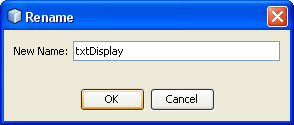

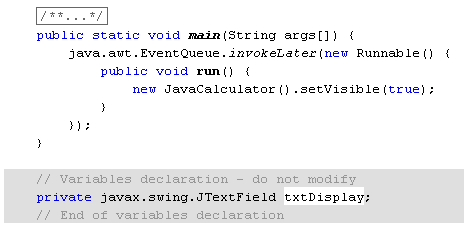
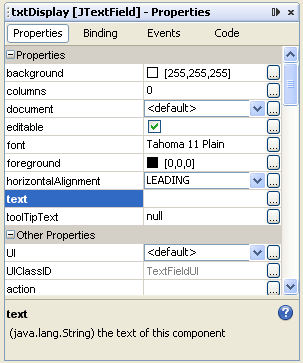
Click on the Design button at the top to return to your form. The text field has some default text in, at the moment. You can add your own text by changing the text property of the text field.
Make sure your text field is selected on the form. Now locate text in the properties window:
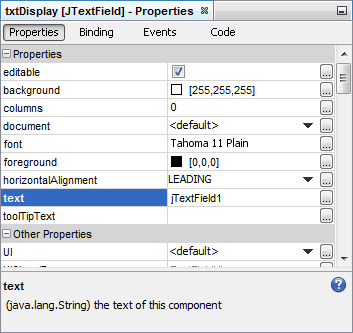
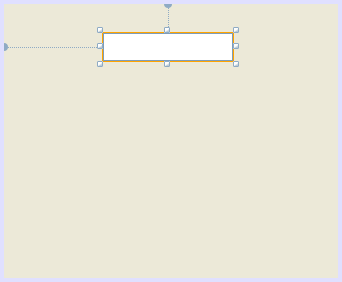
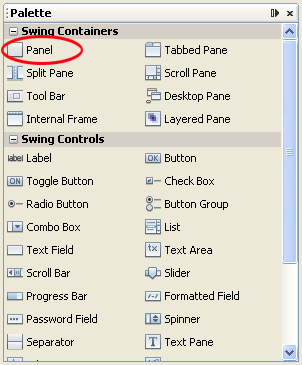
You add a button to a form in the same way you do for text fields - drag and drop. However, as we're going to be adding lots of buttons, it's a good idea to add the buttons to a control called a Panel. If you need to move the buttons, you can then just move the Panel instead. All the buttons will then move with the Panel.
So locate the Panel control in the Palette:
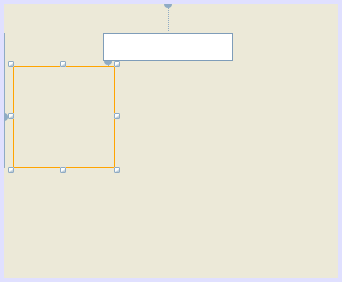

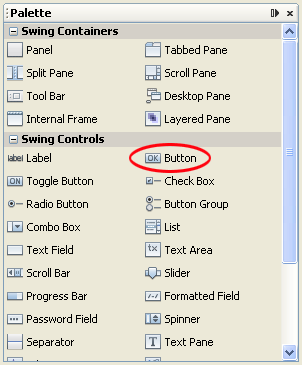
Locate the Button control in the Palette:

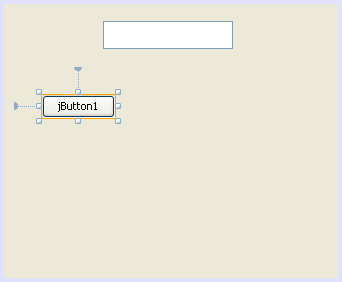
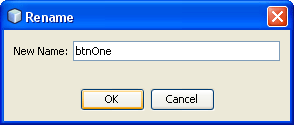

In the next part, you'll learn how to change the properties of Java buttons.
e last part, you saw how to add a button to your Java form. In this lesson, you'll see how to change its properties.
Go back to Design view and make sure your button is selected. We can change the text on the button. What we want is a number, one number for each button on the calculator. The text property is used for button text. So locate this property in the properties window. Delete the default and type the number 1 instead:
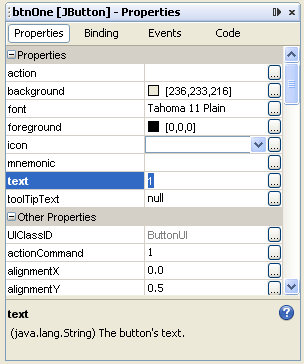
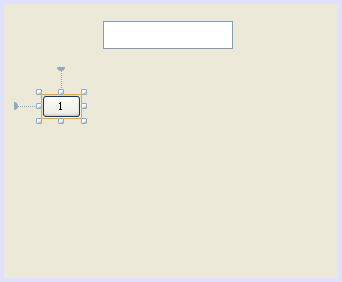
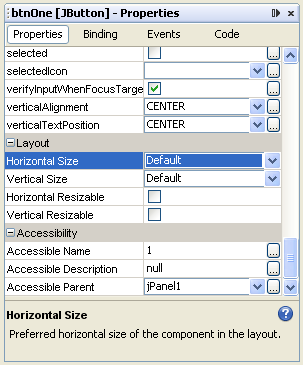

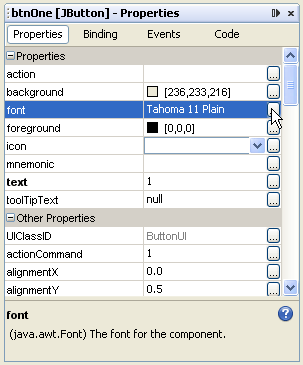
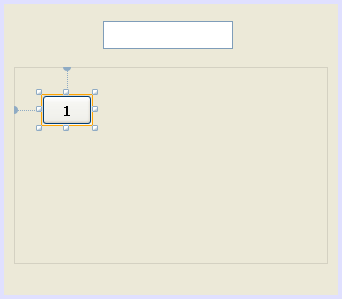
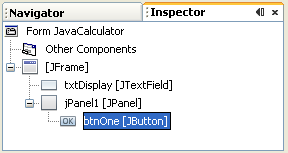
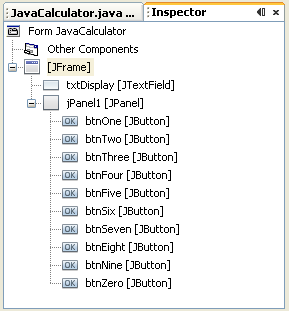
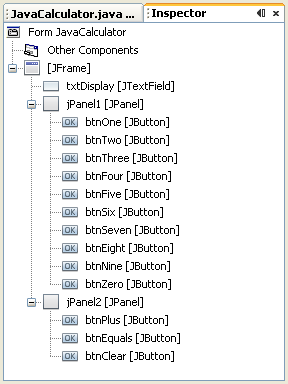
When you're finished, your Inspector area should look like this:
If your buttons are in the wrong place, click a button to select it. Hold down your left mouse button. Keep it held down and drag to a new location in the panel. To move all the buttons at once, select the panel and drag it to a new location:
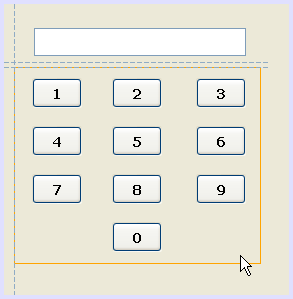
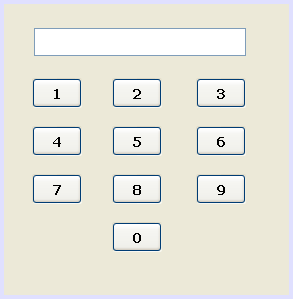
As you can see, our calculator doesn't have any room on the right. But you can easily resize a form.
Click on just the form, and not the panel or the text field. If you do it right, you should see an orange rectangle surrounding the form. Now move your mouse to the edges of the form. The mouse pointer should change shape, as in the image below (bottom right):
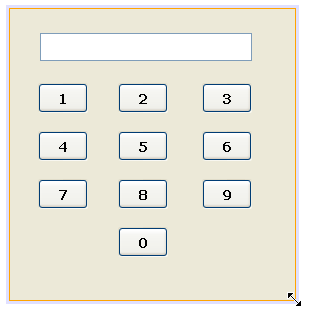
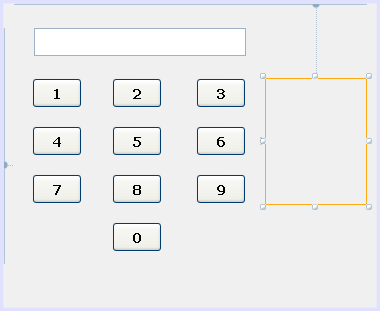
Add a panel in the space you've just created:
In the last lesson, you design your Java calculator. In the lesson, you'll learn about events for Java form objects.
In programming terms, an event is when something special happens. For forms, this means things like buttons being clicked, the mouse moving, text being entered into text fields, the programming closing, and a whole lot more.
Events are objects in Java. They come from a series of classes stored in java.util.EvenObject. When a button is clicked, the button is said to be the source of the event. But the very act of clicking generates an event object. The event object then looks for an object that is listening out for, say, a mouse click, or a keystroke, or any other event that can happen on a form. A text field, for example, can be listening out for key strokes. Or a drop down box could be listening out for which item in the list was clicked.
Different objects (sources) fire different event. For a button, the event that is fired is theActionListener. For a text field, it's the KeyEvent. Think of like this: the event object is responsible for passing messages back and forward between form objects that have had something happen to them, and objects that are waiting for things to happen.
If all this sounds a bit complicated, then don't worry - it is complicated! But some programming examples might clear things up. First, a word about how our calculator will work.
If we want to add 3 + 2, we first need to click the 3 button. The number 3 will then appear in the text field. The plus button is clicked next, and this alerts the programme to the fact that we want to add things. It will also clear the text field ready for the next number. The next number is 2, and we store this value along with the 3. The equals button is clicked to get the total, and this is where we take the stored numbers (3 and 2) and add them together. Finally, the answer is stored in the text field.
The first problem is how to get at the numbers on the buttons. We can do this by returning the text property of the button. Once we have the text, we can put it into the text box. But we need an ActionEvent for when the button is clicked.
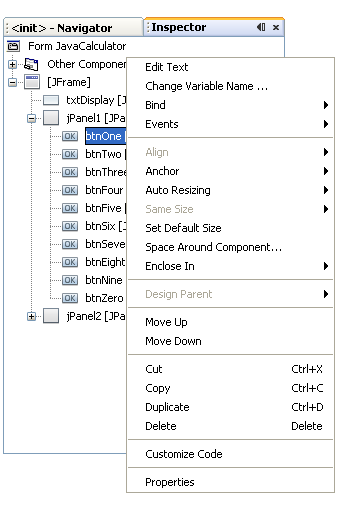
In Design view in NetBeans, select your number 1 button. Now have a look at the Inspector window in the bottom left. Locate your btnOne button. Now right click to see the following menu appear:
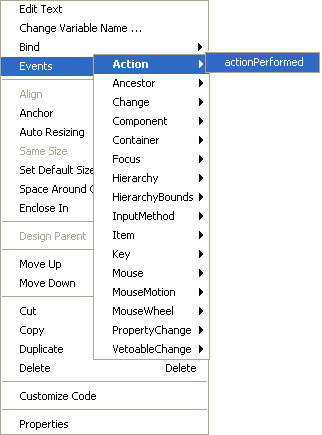
private void btnOneActionPerformed(java.awt.event.ActionEvent evt) {
// TODO add your handling code here:
}
The first line is a bit long. But it's just a method with an ActionEvent object between the round brackets. When the button is clicked, whatever code we write between the curly brackets will get executed.Writing code for the numbers buttons on our Java Calculator
To get text from a form object, you can use the getText method of the object (if it has one). So to get the text from btnOne we could use this code:
String btnOneText = btnOne.getText( );
To get text from our text field, we could do this:
String textfieldText = txtDisplay.getText( );
However, if wanted to put something into the text field, the method to use is setText:
txtDisplay.setText( btnOneText );
Try it out. Add this code to your code stub:
private void btnOneActionPerformed(java.awt.event.ActionEvent evt) {
String btnOneText = btnOne.getText( );
txtDisplay.setText(btnOneText);
txtDisplay.setText(btnOneText);
}
Run your programme and test it out. Click your 1 button and you should find that the number 1 appears in the text field: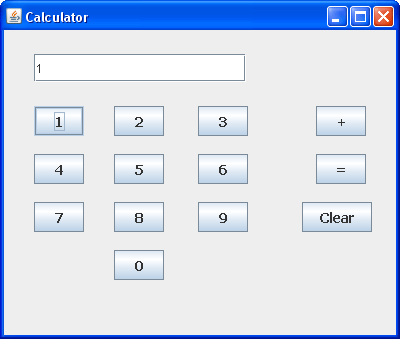
The reason is that our code doesn't keep whatever was in the text field previously. It just puts the number 1 there. If we wanted the number 11, we would have to keep the first 1. To do that, you can simply get the text from the text field and combine it with the button text. Amend the first line of your code to this:
String btnOneText = txtDisplay.getText() + btnOne.getText();
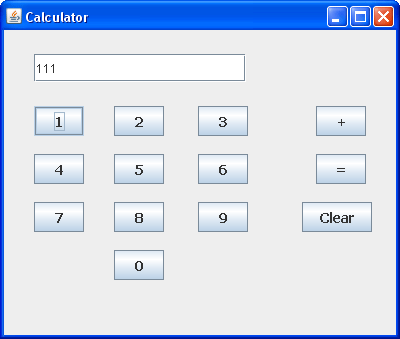
Now we're saying get the text from the text field and combine it with the button text. Store the result in the variable called btnOneText.Run your programme again, and click your number 1 button a few times. You should find that the text field will display a series of 1's:
Add the following code to it:
private void btnTwoActionPerformed( java.awt.event.ActionEvent evt ) {
String btnTwoText = txtDisplay.getText() + btnTwo.getText();
txtDisplay.setText( btnTwoText );
txtDisplay.setText( btnTwoText );
}
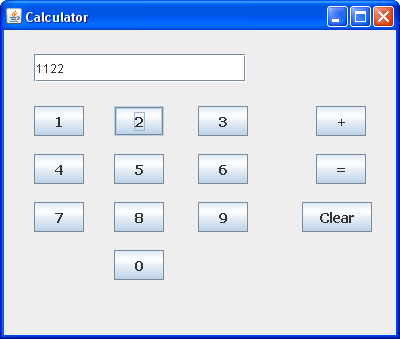
The only difference with the code is the name of the String variable (now called btnTwoText), and the fact that we're getting the text from btnTwo. In between the round brackets of setText, we pass the name of the String variable.Run your programme again. You should now be able to click the 1 and the 2 buttons and have the text appear in the text field:
String btnThreeText = txtDisplay.getText() + btnThree.getText();
txtDisplay.setText( btnThreeText );
You can copy and paste the code you already have. Then just change the String variable name, the name of the button after the btn part, and the part between the round brackets of setText. If you see any underlines then you know you've done something wrong.txtDisplay.setText( btnThreeText );
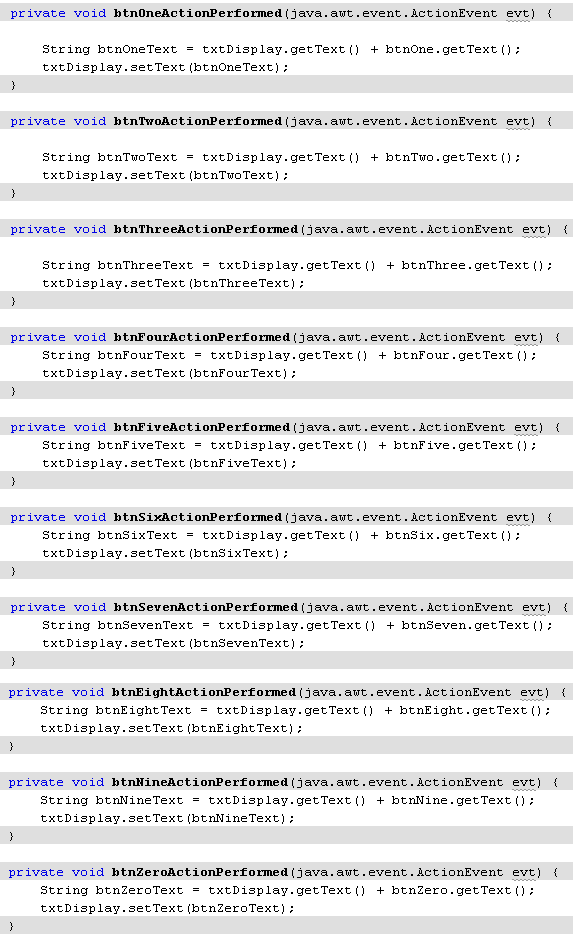
When you've finished, the code for all the number button should look like this:
Now that the number buttons are working on your Java calculator, the next thing to do is to handle the plus button. The only thing our plus button needs to do is to store whatever number is currently in the text field. It's just a record of the first number to be added. Later, we'll also record the fact that it was the plus button that was clicked, rather than the minus, or the divide, or the multiply button.
To store the value, we need to set up a field variable, that's a variable outside of any button code. This is so that all the buttons can see what has been stored in it.
Add the following variable near the top of the coding window: (You can place it near the bottom, with the field variables NetBeans has set up for the form objects, but we'll keep our variables separate.)
private double total1 = 0.0;
Here's the code window:
To store the value from the text field, we need to get the text. But we'll need to convert it from a String to a Double. You can do so with the parseDouble method of the Double object:
Double.parseDouble( txtDisplay.getText( ) )
In between the round brackets of parseDouble we get the text from the txtDisplay text field.However, when we store the value from the text field into the total1 variable, we need to retain what is already in total1. We can also clear the text field, ready for the second number.
So return to Design view in NetBeans. Double click your Plus button to generate the code stub. Now add the following two lines to your plus button:
total1 = total1 + Double.parseDouble( txtDisplay.getText( ) ) ;
txtDisplay.setText("");
In between the round brackets of setText, we have a pair of double quotes, with no space between them. This is enough to clear the text field.txtDisplay.setText("");
And that's it for the Plus button, for the moment. We'll come back to it later. All we're doing, though, is storing a number in the total1 variable, and keeping what is already there. Once the number is stored, we've cleared the text field. The user can now enter a second number to be added to the first.
in the next part, we'll add code for the equals button on our calcualtor.
After the user has chosen a second number, the equals button needs to be clicked. Clicking the equals button will produce the answer to the addition.
To store the output of the calculation, we can set up another field variable. Add the following line to the top of your code:
private double total2 = 0.0;
Your code window should look like this: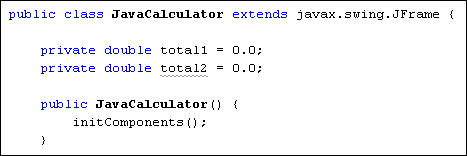
Go back to Design view and double click your equals button. In the code stub that is created, add the following line:
total2 = total1 + Double.parseDouble( txtDisplay.getText( ) );
This line gets the text from the text field and converts the string into a double. The result is then added to total1. The answer is then stored in the total2 variable.The next thing we need to do is to display the answer to the calculation back into the text field. However, we now have to convert the double back into a string, as text fields hold text and not numbers. If you try to store a double value directly into a text field you'll get errors.
To convert a double into text you can use the toString method of the Double object. Add the following line just below the first one:
txtDisplay.setText( Double.toString( total2) );
The conversion is done between the round brackets of setText. But you could set up a new variable, if you wanted:
String s1 = Double.toString( total2 );
txtDisplay.setText( s1 );
But the result is the same: convert a double to a string.txtDisplay.setText( s1 );
The final line for the equals button can clear the total1 variable. Once the total1 variable is cleared, a new calculation can be entered. Here's the line to add:
total1 = 0;
The three lines for your equals button should now be these:
total2 = total1 + Double.parseDouble( txtDisplay.getText( ) ) ;
txtDisplay.setText( Double.toString(total2) );
total1 = 0;
In the next part, we'll write code for the Clear button. You'll also get to try a few exercises.txtDisplay.setText( Double.toString(total2) );
total1 = 0;
The only thing left to code for now is the Clear button. For this, we need to clear the total2 variable and set the text in the text field to a blank string.
In Design view, double click your Clear button to create the code stub. Now add these two lines to your Clear button:
total2 = 0;
txtDisplay.setText("");
Once you've added the lines, you can try your calculator out. Run the programme and try adding numbers. You should find that your calculator adds up fine.txtDisplay.setText("");
Exercise
There is one thing missing, however - a point symbol. At the moment, your calculator can't handle sums like 23.6 + 35.8. So add a point button to your form. Write the code for it. (Hint - it's practically the same code as for your number buttons.)
Exercise
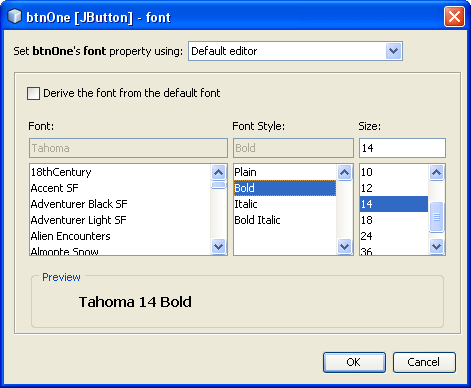
Set the font property for your text field so that it's 14 point bold
When you've completed the above exercises, you calculator should look something like ours:

Congratulations - you have now written a Java calculator programme! OK, it can only add up, but it's a start.
What we'll do now is to make it subtract, divide and multiply.
Now that the plus button is working on our Java Calculator, we can add buttons to subtract, divide and multiply. Just like the addition button, however, these buttons won't do any calculations: the equals button will still do all the work. The only thing the operator buttons will do is to record which button was clicked: add, subtract, divide, or multiply.
The first thing to do is to place some more buttons on your form. In the image below, we've moved the Clear button, and put all the operator buttons in the panel to the right. Feel free to come up with your own design, though:
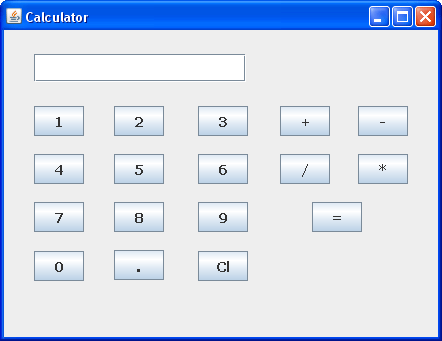
The technique we'll use to get which operator button was clicked is to store the button text in a field variable. We can then use a switch statement to examine which character is in the field variable. If it's the + symbol we can add; if it's the ? symbol we'll subtract; if it's the / symbol we'll divide; and if it's the * symbol we'll multiply.
So click the Source button to get back to your code. Add the following field variable to the top, just below your other two:
private char math_operator;
The top of your code should then look like this: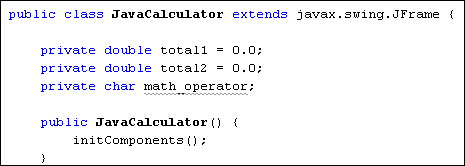

We've called the method getOperator. It's a void method, so won't return any value - it will just get on with executing the code. In between the round brackets of the method header, we have a String variable called btnText. This is obviously the text from the button that was clicked.
The text from the button is a string. However, switch statements in Java can't handle strings, so we need to convert the string to a character. We do so with this line:
math_operator = btnText.charAt(0);
The charAt method of strings will get a character from a string. The character you want goes between the round brackets of charAt. The math symbol from our buttons is always at character 0 in the string. This is then stored in the char field variable we've just set up at the top of the code.Notice the other two lines in the code. They are exactly the same as the lines from the plus button, doing exactly the same thing - storing the first number in the variable called total1. Each operator button needs to do this, so it makes sense to have these two lines in our method, rather than in the operator button code.
So locate your btnPlus code and delete the following two lines from it:
total1 = total1 + Double.parseDouble(txtDisplay.getText( ) );
txtDisplay.setText("");
Replace them with these two lines:txtDisplay.setText("");
String button_text = btnPlus.getText();
getOperator(button_text);
The first new line gets the text from the plus button and stores it in a string variable. This is then handed over to our method getOperator.getOperator(button_text);
The same two lines can be added to the other operator button, only changing the name of the button.
Go back to design view and double click your subtract button. For the code stub, add the following:
String button_text = btnMinus.getText();
getOperator(button_text);
(Although we've used the same name for the String variable Java won't get confused, as each button_text is local to its particular button code.)getOperator(button_text);
Double click your divide button and add this:
String button_text = btnDivide.getText();
getOperator(button_text);
And here's the code for the multiply button:getOperator(button_text);
String button_text = btnMultiply.getText();
getOperator(button_text);
Now that we have code for all four operator button, we can adapt the equals button.getOperator(button_text);
For the equals button, we can set up a switch statement to examine what is in the math_operator variable.
switch ( math_operator ) {
case '+':
break;
case '-':
break;
case '/':
break;
case '*':
break;
}
The switch statement has a case for each of the math operators: +, -, /, and *. We haven't added any code, yet. But have a look at the code you already have for you equals button:
total2 = total1 + Double.parseDouble( txtDisplay.getText( ) ) ;
txtDisplay.setText( Double.toString(total2) );
total1 = 0;
The last two lines are OK, and don't need to be changed. The first line, however, can be used in the switch statement. This line, remember, is the one that adds up.txtDisplay.setText( Double.toString(total2) );
total1 = 0;
It can be moved up and used as the code for the + case:
case '+':
total2 = total1 + Double.parseDouble(txtDisplay.getText( ) );
break;
If the minus button was clicked, then we can simply change the plus to a minus in the line above:
case '-':
total2 = total1 + Double.parseDouble(txtDisplay.getText( ) );
break;
The case for the divide is then this:
case '/':
total2 = total1 + Double.parseDouble(txtDisplay.getText( ) );
break;
And the case for the multiply character is this:
case '*':
total2 = total1 + Double.parseDouble(txtDisplay.getText( ) );
break;
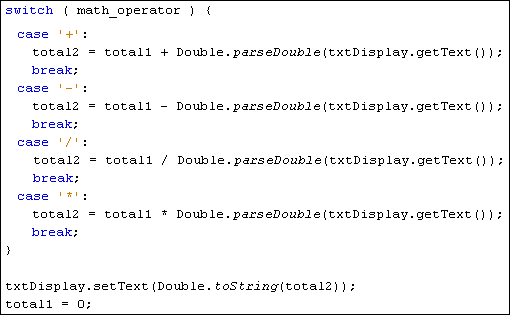
Here's the entire code for your equals button:
58. 6 + 37.5 (answer should be 96.1)
78 - 25.5 (answer should be 52.5)
68 / 8 (answer should be 8.5)
56.3 * 6.8 (answer should be 382.84)
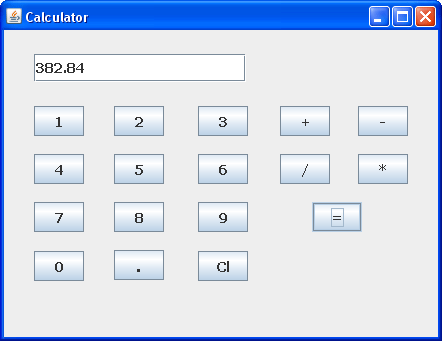
And that's it - you now have a simple working calculator that can add, subtract, divide, and multiply:78 - 25.5 (answer should be 52.5)
68 / 8 (answer should be 8.5)
56.3 * 6.8 (answer should be 382.84)
Now that you've had some practice with form objects, let's create a new programme that makes use of the more common controls you'll find on a form.
No comments:
Post a Comment